

We throw away £140 million worth of wearable clothing annually, in the UK alone. That’s 350,000 tonnes of fabric going to waste every year!
Upcycling clothes is an easy way to reduce our impact on the environment. Extending the life-cycle of clothes you already own - or pieces found in charity shops - can help to break the cycle of fast fashion.

In this post, I'll talk you through how to use hand embroidery to customise and upcycle your clothes. You can create a totally unique item of clothing to show off - and it's really easy to do, once you know how.
I'll show you:
What equipment you need to embroider clothes;
Which fabrics you can embroider on;
My favourite method of upcycling clothes;
Which embroidery stitches are best for customising clothes;
How to care for your embroidered clothing.
What Equipment do I Need to Embroider onto Clothes?
- A piece of clothing. I love to use denim or thick cotton shirts - pick anything from your wardrobe that would look gorgeous with some added detail!
- A pattern. I prefer to print my patterns onto water-soluble, adhesive paper - so I can stick them on, stitch, then wash away the transfer. Easy!
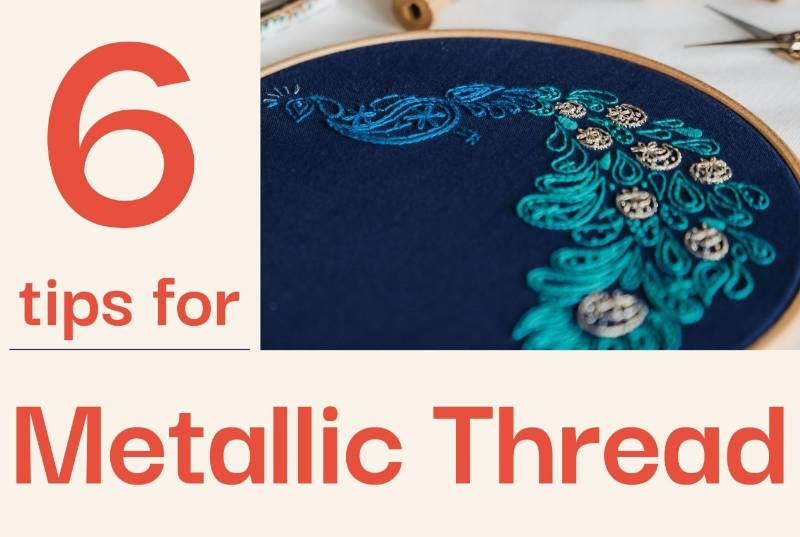
- Thread. I prefer to use DMC stranded cotton - just make sure that your threads are colour-safe! If you're worried the thread colours might run onto light clothing, run the thread through the washing machine in a delicates bag first. This helps to get rid of any 'loose' dye. You can find more info on the best embroidery threads here.
- Needle
- Embroidery hoop (optional). Some clothing and accessories (like denim jeans or a baseball cap) are almost impossible to wrestle into a hoop. In this case, it's fine to stitch without one - the transfer paper will help to keep the fabric stiff!
My Customise Kits contain 10 mini Paraffle designs on water soluble paper, plus lots of gorgeous DMC threads. They're an easy way to get started on upcycling your clothes - you can pick one up here.
Which Fabrics and Clothes Can I Embroider On?
Almost any fabric can be customised with embroidery - you just need to treat it right!
Always wash your fabric before stitching onto it. This will remove any stretching or shrinkage that can happen during the first wash - and will make sure that your fabric is colour-safe, too.
There's two main ways to stitch onto clothes or accessories:
1) stitch directly onto the fabric; or
2) stitch the design onto a patch, then attach it later.
The method you choose depends on the item you want to customise! I've created a separate post on how to hand embroider patches here.

The best fabrics to embroider are medium weight fabrics, with little stretch - like denim or thick cotton. Denim jeans and thick cotton shirts aren't too stretchy and can hold the weight of most embroidery - you can use 3 to 6 strands of the embroidery thread on these, depending on the look you're going for!
Thin fabrics are tougher to stitch on, but it can still be done! If you want to stitch directly onto a thinner, more delicate fabric, just use fewer strands of thread (1 or 2 strands) and less heavy stitches - for example, focus on the outline of the shape, rather than filling it in with block colour.
Stretchy fabrics (like T-shirts) can be tricky - but they just need the right preparation! When you apply the adhesive transfer, make sure the fabric isn't stretched - otherwise, the embroidery will warp when it falls back into its natural shape.
While you're stitching, make sure you don't pull the stitches too tight, which makes the fabric scrunch up - and try to use lighter stitches, rather than filling the shape. If you want a block colour design on a stretchy fabric, a patch might be a better option. It can be easier to keep items like T-shirts supported in an embroidery hoop - but make sure you don't stretch them out of shape!
How to Embroider onto Clothes
I find this the easiest way to customise clothes with embroidery:
1. Take your printed transfers, and roughly cut out the pattern you'd like to stitch. Lay your fabric/clothing of choice on a flat surface - give it an iron if it's super crumpled - and work out where you want your design to be placed.

2. Peel off the shiny paper backing from the transfer; then apply the sticky transfer piece to the front of the fabric you want to stitch on. Make sure the transfer is smoothed down flat and fully stuck to your fabric.
If you're using an embroidery hoop, put your fabric into it now.

3. Get Stitching! There's advice below on the best stitches to use - but feel free to experiment with colours and textures!
If you're totally new to embroidery, you can explore my guide to getting started here. Make sure your ends are well tied-off, so they won’t come undone when you’re wearing or using your piece.

4. Once your stitching is finished, you just need to remove the rest of the transfer paper! The transfer paper I use is water soluble - so run your fabric under a lukewarm tap. You'll soon see the transfer start to break up and fall away.
Gently agitate your fabric to help break up the paper, and brush the stitching with a finger to remove any leftover residue. You can use the blunt end of your needle to shift any bits of paper stuck around your stitching.

5. Leave the fabric to dry (or use a hairdryer if you're feeling impatient). Sorted!

Which Stitches Are Best for Customising Clothes?
This is totally up to you! There's so many ways to use colour and texture in a design, so I’d encourage you to experiment!
Here's a quick guide to my favourite stitches and how I use them to customise my clothes. There's a tutorial linked to each stitch, too!
Outlines
If you want to stitch just the outline of a shape, there's a number of stitches you can use. Sometimes stitching just the outline of a design is best if you're using a thin or stretchy fabric - it prevents the area from warping or wrinkling too much!
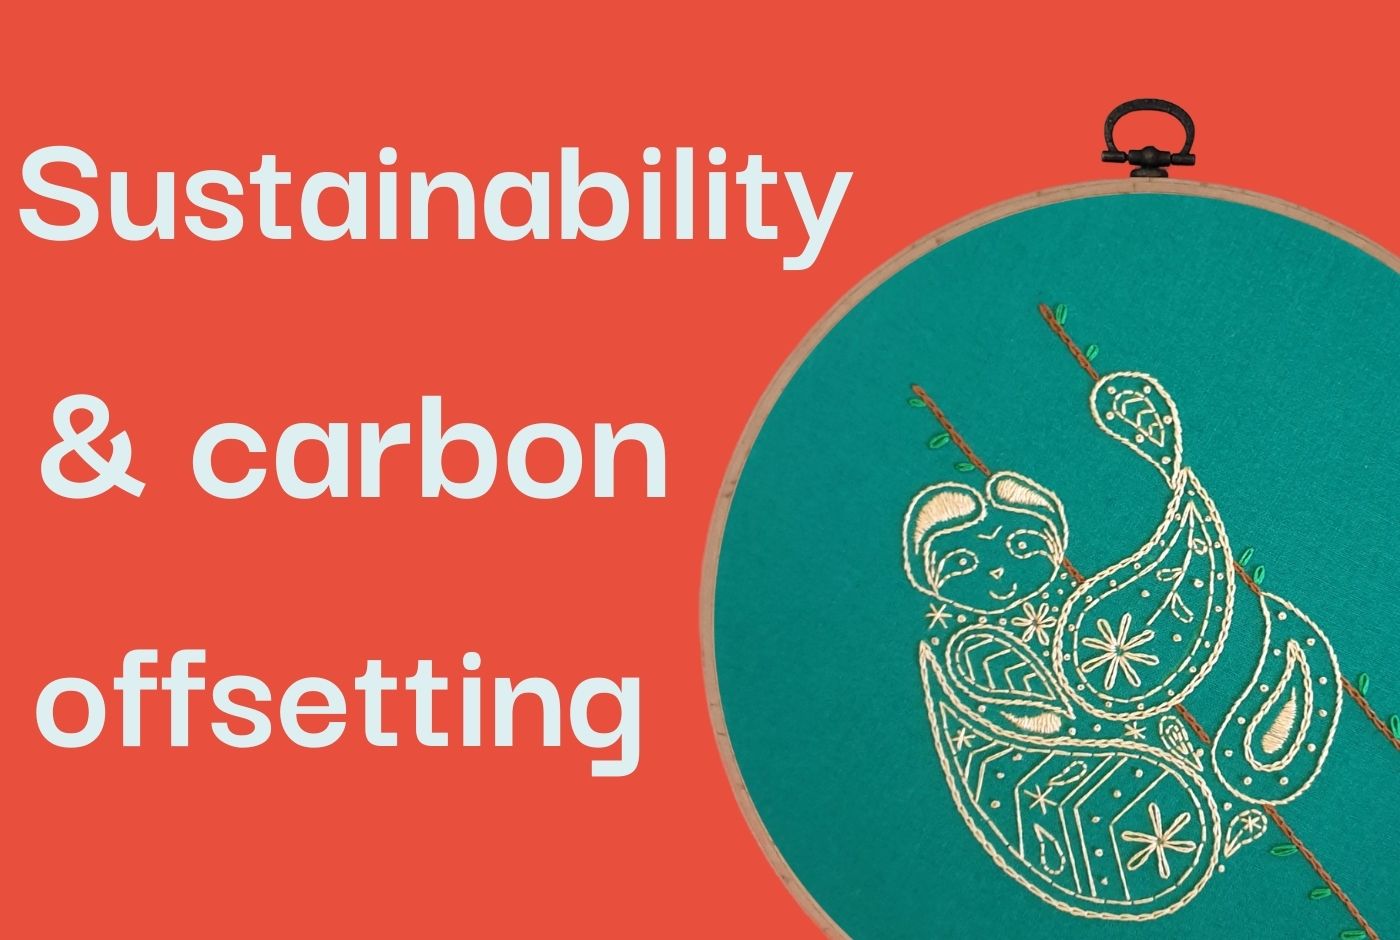
Back Stitch: this is the most basic stitch in embroidery for creating a continuous line. It's the stitch that I've used on the whale's large teardrop shapes above. To make a Back Stitch even smoother, you can do a Whipped Back Stitch. This is easy - once you've done your line of Back Stitch, simply take another length of thread and wrap it around your previous stitches. This helps to eliminate the tiny gaps between stitches. I usually 2 strands of embroidery thread (out of the 6) to create this stitch.
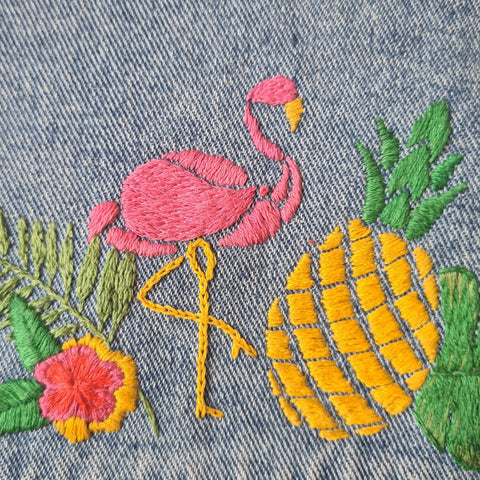
Chain Stitch: this is a great stitch for chunky, textured lines. You could even try doing rows of Chain Stitch very close to each other, to create a filled in effect. I used Chain Stitch on the whale's belly (above) and the Flamingo's legs (below). I usually 2 strands of embroidery thread (out of the 6) to create this stitch.
Split Stitch: This is my preferred stitch for creating a continuous line on clothes. It's a good way of creating a bit of texture, without looking as heavy as a Chain Stitch.
Filler Stitches
Long and Short Stitch: also known as Brick Stitch, this is a great one for customising clothes. The stitches are well anchored down, making them durable for everyday wear. I used Long and Short Stitch on the wing and head of the Flamingo above. This is also the stitch used in needle painting - it's great for slowly blending one colour into another (although I only used pink on the flamingo!). Long and Short Stitch is best done with 1 to 3 strands of thread (I find it gets really chunky with any more!).
Satin Stitch: this is another favourite filler stitch - but be careful with this! Water soluble stabiliser can make long Satin Stitches wrinkle up, warp, and dull the shine of the thread. I'd advise you to keep areas of Satin Stitch around 1cm wide, maximum - and if you're unsure, experiment with some spare fabric and a blank scrap of the transfer paper beforehand! I used Satin Stitch on the Pineapple above (this was done with 2 strands of thread), and on the flower (this used only 1 strand of thread).
Other Stitches
If you’re feeling adventurous, why not fill a space with Lazy Daisies or French Knots?! Seed Stitch is also a super easy method of filling a space with some light stitching.
How to Care for Hand Embroidered Clothes
For the first wash, it's often safest to wash items by hand with some mild detergent. DMC threads are coloursafe, but gently handwashing can minimise any risks of colours running. For future washes, use a soft/delicates cycle - if the piece will fit into a small laundry washing bag, this can avoid any stitching getting caught on other clothes, too!
If the piece of clothing will get a lot of use - like a tote bag, for example - it can be a good idea to add some iron on/fusible interfacing at the back of the piece. This will strengthen the fabric, and anchor down all of your stitches.
Interfacing can also help to protect your skin, too! If the back of your embroidery will be in direct contact with your skin, it can be a bit rough or irritable. In this case, iron-on interfacing can also be attached to create a less abrasive surface for your skin!
I hope this post has been helpful!
As always, if you have any questions or suggestions, I'm more than happy to help - just drop me a line!


Leave a comment (all fields required)